Pipe Burst in House: What to Do Before Calling a Pro
Hearing water rushing inside your walls, or watching it spread across the kitchen floor, triggers panic fast. But knowing what to do when a pipe bursts in your house can save you thousands in repairs. The difference between a manageable repair and a real loss usually comes down to your first thirty minutes. While you wait for help, a few specific actions can stabilize things and protect your insurance claim, as long as you put safety ahead of speed.
Immediate Steps When You Discover a Pipe Burst
Your first instinct might be to grab a mop. Don't. Secure the environment before you touch any wet surface. Water conducts electricity efficiently, and standing water in a home full of outlets and appliances creates a hazard you can't see, so respect it before you take a step toward the leak.
Shut Off the Main Water Valve
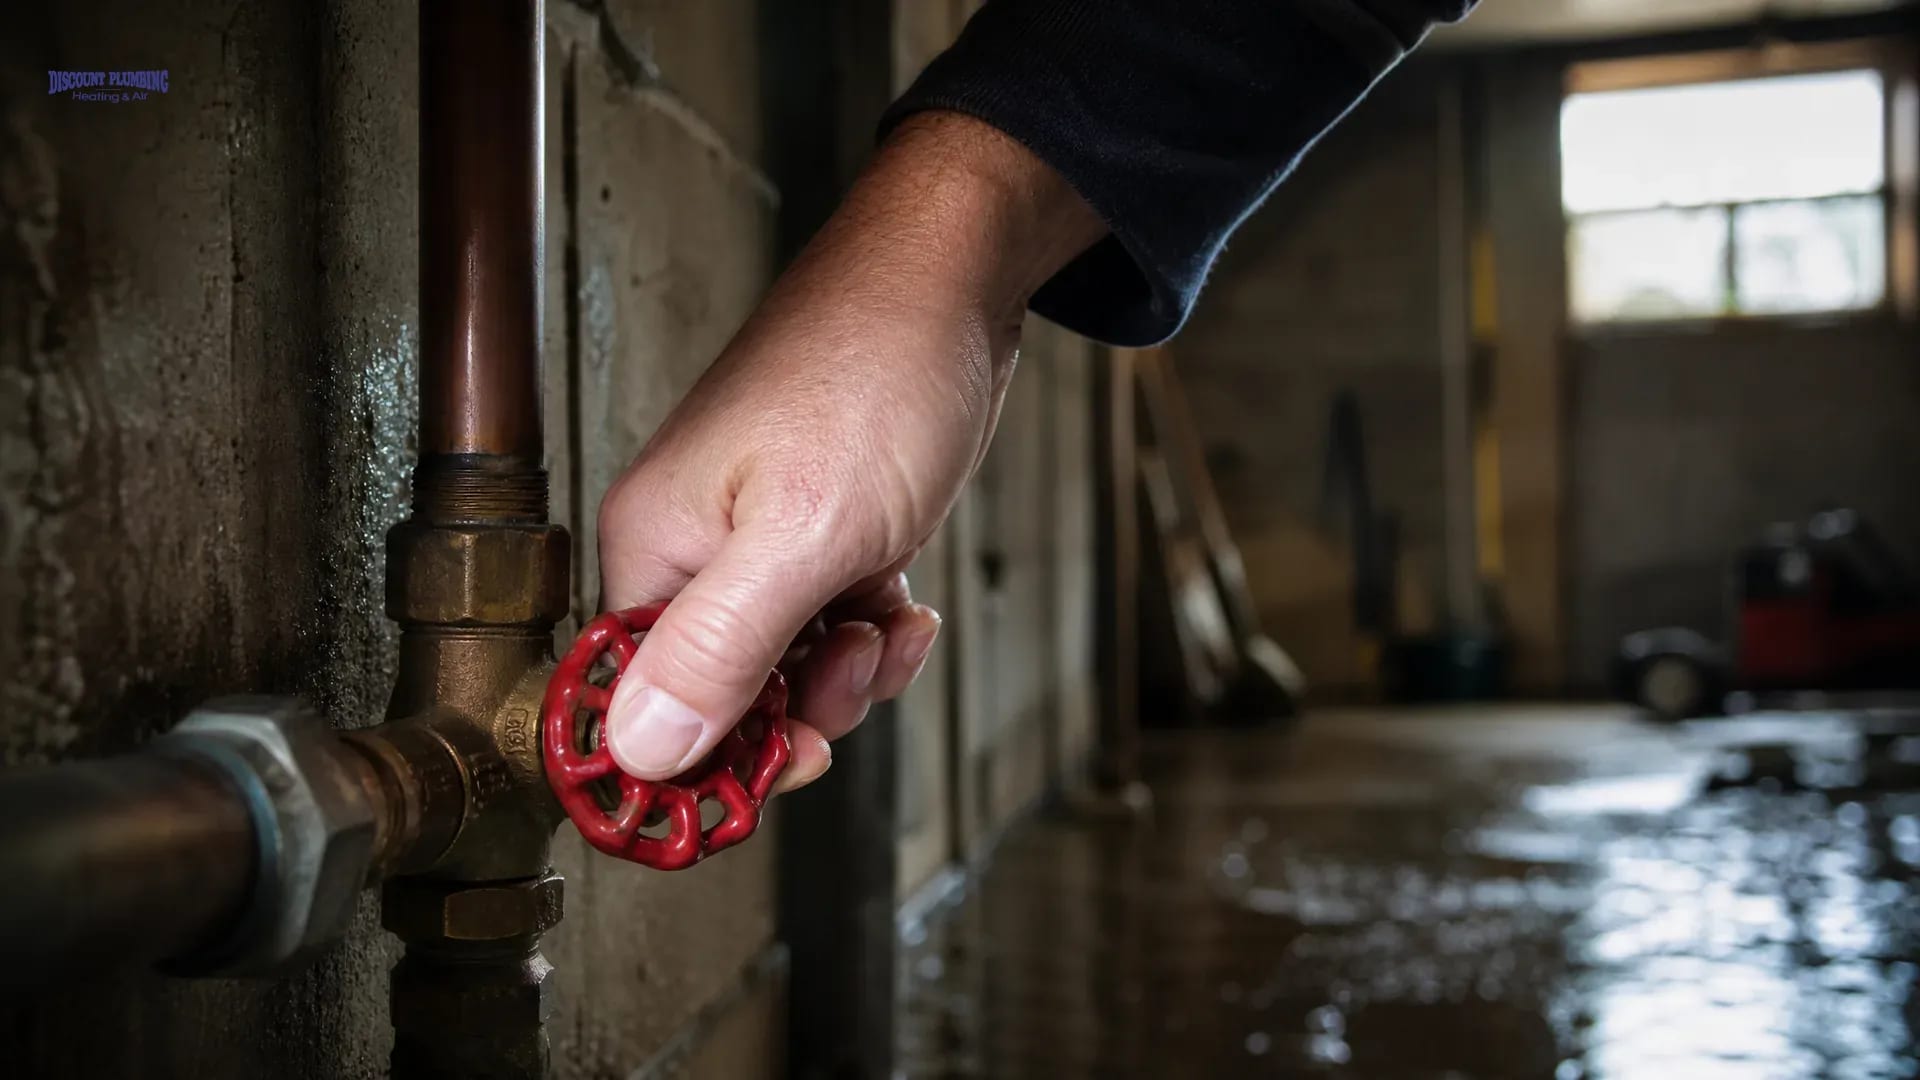
Find the main shut-off valve and you stop the flow and limit how much water gets into your living space. In most Goodyear homes built on slab foundations, this valve sits outside near the front hose bib, inside the garage where the main line enters, or occasionally in a utility closet by the water heater. Turn the handle clockwise until it stops, using steady pressure rather than force so you don't snap an aged stem. If the valve is stuck or you can't reach it, don't waste time fighting it. Call emergency services and focus on electrical safety instead.
Cut Power to Affected Areas
Water damage response always has to address electrical risk before water removal begins. Go to your breaker panel and switch off the circuits serving the flooded rooms, even if the lights still look fine. Moisture travels through conduit and junction boxes long before it shows on the surface, which means a room that looks dry can still shock you. If the panel itself is wet, or you'd have to stand in water to reach it, stay out. Wait for a licensed electrician or emergency responder to cut the power safely.
Containing Water Damage While Waiting for Help
Once the utilities are secured, your job shifts to limiting saturation while preserving evidence for your insurance adjuster. That means moving fast without losing the documentation that makes your claim hold up.
Extract Standing Water Safely
Pull up bulk water with a wet vacuum rated for liquid extraction. Never use a standard household vacuum; it's a serious electrocution risk. Work from the edges of the flood zone toward the center so you don't push water into unaffected cavities or under baseboards. No wet vac on hand? Blot with towels and mops instead of wiping. Aggressive wiping just pushes moisture deeper into drywall and subflooring. And keep in mind: this only manages surface water. It doesn't touch the saturation hiding beneath flooring or behind walls.
Protect Belongings and Documentation
Move furniture, rugs, and electronics to a dry area right away, and slide aluminum foil or plastic tabs under furniture legs to stop staining and further absorption. Photograph every affected area from multiple angles before you move anything, both wide shots of full rooms and close-ups of specific damage, including water lines on the walls. Write down a list of damaged items with approximate purchase dates and values while it's still fresh in your head. Adjusters rely heavily on this early visual record, so documenting thoroughly now heads off disputes later, once drying has already changed how the damage looks.
Assessing Emergency Plumbing Water Damage
Knowing what caused the flood helps responders bring the right equipment and sets realistic expectations for how long restoration will take. It also tells you whether the water is sanitary or contaminated, which changes the safety rules for cleanup entirely.
Identifying the Source and Severity
Supply line bursts usually release clean, pressurized water that sprays or flows steadily until the main valve closes. Drain failures or sewage backups look different: slow-rising, foul-smelling water that may carry biological contaminants and needs specialized handling. Tell whoever you call exactly what you're seeing, because the line between Category 1 clean water and Category 3 black water decides everything from what protective gear is needed to how the water gets disposed of. Per IICRC standards, water damage categories range from clean supply water to hazardous sewage, and each one calls for its own safety protocol.
Recognizing Hidden Saturation Risks
In West Valley slab-on-grade construction, supply line leaks often travel silently beneath the flooring before anything becomes visible, which is why finding them usually takes specialized moisture detection equipment. Water follows the path of least resistance: it pools under tile, wicks up through drywall from the floor plate, and gets into cabinet toe kicks long before you'd notice anything from above. Watch for cupping hardwood planks, bubbling paint near the baseboards, or cool spots on tile that shouldn't be there. Those are signs water has been moving undetected for hours or days, and the visible damage is only a fraction of what actually needs professional attention.
Burst Pipe Water Damage Cleanup Protocols
Surface drying alone won't fix structural saturation in Arizona's climate, where daytime heat speeds up mold growth inside wall cavities. Proper mitigation calls for industrial air movers, placed to pull moisture out of building assemblies from deep inside, paired with dehumidifiers sized to the room's cubic footage and grain load. Homeowners who try DIY drying with box fans and open windows often find, weeks later, that mold has already colonized behind the baseboards or under the flooring, turning a simple pipe repair into a full remediation job that costs far more than professional mitigation would have up front. Industry practice for arid climates holds that responding within the first 24 hours meaningfully cuts secondary damage costs and the odds you'll need mold remediation, which is why the upfront expense of calling in help right away tends to pay for itself.
When to Call Emergency Restoration Services
Knowing your limits protects your health and your property value when things get stressful. Some situations call for licensed professionals with moisture meters, thermal imaging cameras, and antimicrobial treatments that homeowners simply don't have access to.
Signs You Need Professional Mitigation
Any flooding that involves contaminated water, electrical systems, or structural components needs licensed restoration, not a DIY fix. Areas larger than roughly one hundred square feet tend to overwhelm consumer-grade equipment, which leads to incomplete drying and hidden mold. Odors that persist after you've cleaned the surface point to microbial growth or saturation in spots you can't reach without an invasive inspection. If you're unsure about safety or drying technique, get a professional to assess it. Incomplete mitigation just compounds the damage later.
Coordinating Plumbers and Restorers
The right sequence starts with stopping the active leak through a plumbing repair, then moves straight into water extraction and structural drying before any reconstruction begins. Rebuild before the structure is verified dry, and you trap moisture inside walls and floors, which guarantees future failure and possible health hazards. Skinner & Son combines emergency water mitigation with full reconstruction, closing the gap between stopping the leak and restoring your home that often causes delays and miscommunication when you're juggling separate contractors. Because the same team handles demolition and rebuild, they know exactly how the structure goes back together, which avoids the costly change orders and timeline extensions that crop up when multiple vendors have to coordinate independently.
Preventing Future Pipe Leaks and Flooding
Arizona's temperature swings and hard water create stress on residential plumbing that you won't see in national averages. Seasonal maintenance built around local conditions catches problems before they turn into emergencies.
Check braided stainless steel supply lines every year for bulging, corrosion, or fraying, and replace them proactively every five to seven years no matter how they look. During winter cold snaps, insulate exposed pipes in garages and exterior walls; even brief freezing can crack copper or PEX fittings that won't leak until they thaw. Consider a smart water shutoff valve that detects abnormal flow and automatically closes the main supply, so you're covered whether you're home or traveling. If you're renovating an older West Valley property, upgrade polybutylene or galvanized piping to PEX or copper while the walls are open. It's far cheaper than replacing it in an emergency after it fails.
Restoring Your Home After Water Damage
Mitigation stabilizes the environment, but real recovery takes reconstruction that matches your existing finishes and restores full function. Drywall, flooring, cabinetry, and paint all need to blend with the undamaged parts of your home, or you're left with visible patchwork and mismatched materials. Hire one local contractor who handles both the emergency response and the final repairs, and you skip the finger-pointing between mitigation crews and finish carpenters when something unexpected turns up mid-rebuild. You want a partner who understands how homes are built in Goodyear and sticks with you from the first extraction to the final walkthrough, so your home comes back to pre-loss condition without lingering defects or gaps in the warranty.
